Prerequisite
General knowledge you should know before beginning
ABC's of Blender
Do you understand what is a vertex, and what is a 'Mesh'? What is a UVMap and how to create simple UV's? How to add/remove modifiers? What is the normal direction of a face and its implications on shading? Why you can't paint a vertex attribute correctly on a low poly object? Great! Let's get started then!
Apply Scales
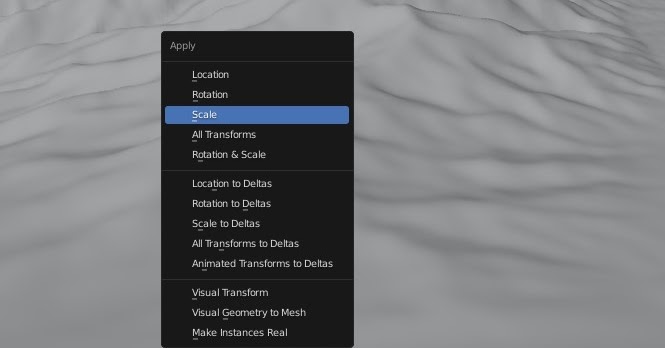
Let's say you created a plane in your scene, then resized it, and you'd like to scatter objects on this plane. If you do so, do not forget to apply the scale of your plane with the CTRL+A shortcut, depending if you intend your scatter's to follow your plane 3D transforms, or not. This is a step that all Blender users know, and that a lot of beginners are unfortunately missing.
Properties Descriptions
Did you know that you can hover on almost any Blender sliders, toggles, or
drop down items to read their description? We wrote a lot of information in
these descriptions. Taking time to hover in order to read these descriptions is a good reflex to have!
No need to see a tutorial or this doc website if all the info you need is already described in there!
If you feel that some of our items need better descriptions, don't hesitate to contact us and we'll improve them!
Compatibility Issues
Blender does not support forward compatibility! Let's say that your
collaborator gave you a blend file saved in Blender 3.2, then please avoid
reading, and never save, this blend file in Blender 3.1 or lower.
Please follow this simple rule, otherwise,
you will run into issues.
The blender C++ codes of some data structures, such as
shader/geometry nodes or modifiers, might change from one version to another, and old blender version might not recognize these structures embedded in your .Blend file.
Basics of Shading
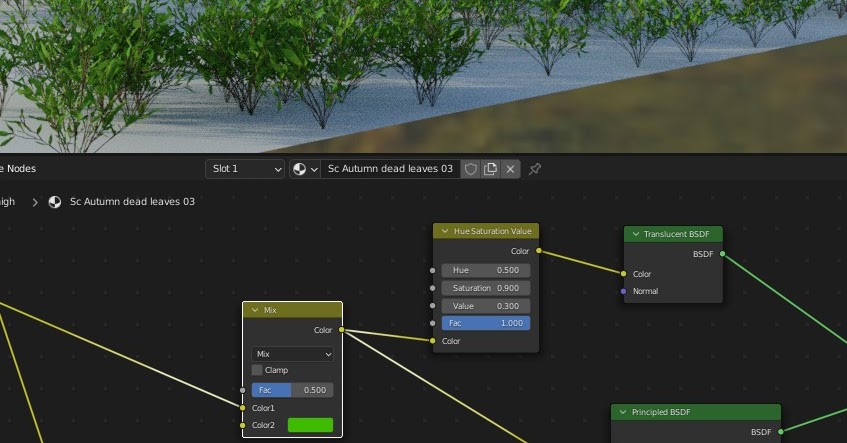
Do you wish to change the color or shader of a plant you scattered? Great! This can be
done natively in Blender shader editor, our plugin does not interact with any shaders!
To change the shaders of the objects you scattered, you will first need to select your object in your scene (this can be easily done by going
in your instance list, and clicking on the select icon), then open a new Blender shader editor and edit the material.
This assumes that you know the basics of material editing in blender and you know how to navigate in a shader nodetree.
Pro Tip
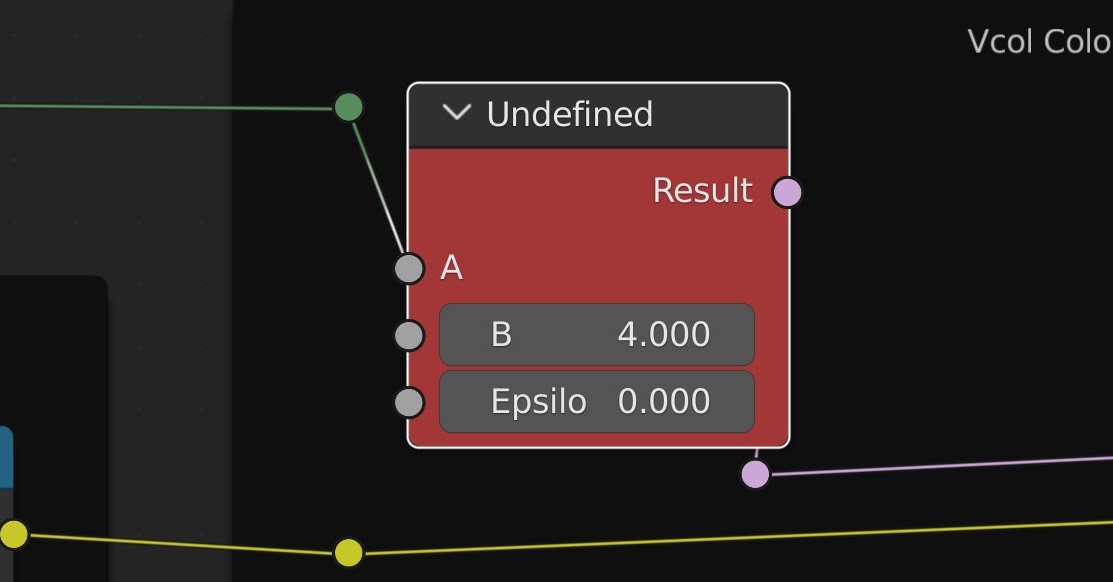
There are handy nodes available in Blender shaders for your instances, such as Object info/Random for randomization effects, the Geometry/Position or Object info/Location for textures, or the Object info/Color, if you'd like to use the scatter-systems display color within your shaders.
What are Instances
Scattering is based on the technology of instancing! What is instancing? Well, instancing is the idea of re-using the data of your object in your computer memory in order to vastly save on memory and performance.
It is important to understand the implication of re-using the same mesh data, while it is giving us massive benefits in terms of performance, we will not be able to run a physic collision or wind simulation that will change the individual meshes of your objects. If you want to do so, you'll need to have unique objects with unique meshes.
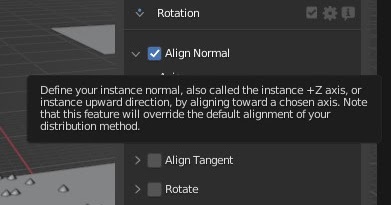
Instances are like any other objects, they have a position, rotation, or scale. In order to define an instance rotation in Geo-Scatter, we are aligning the default Z & Y axis of the instance toward a chosen axis. We call the upward direction of an instance (+Z) the instance "normal", and the forward direction (+Y) the instance "tangent". For example, if you'd like your instance's upward direction to follow your emitting surface inclination, you will need to align your instance's normals toward the normal of your surface face.
Expectation on your Computer
3D Beginners might have unrealistic expectations of what is possible to be displayed in real-time in Blender viewport because of their experience with video games, please make sure to read the page about optimization. Geo-Scatter has a lot of optimization features, however, it is still important to have a good understanding of what your computer or Blender is capable of.
Please keep in mind that software such as Blender, Max, or Maya aren't games! Games engines are specifically designed to stream polygons at a smooth framerate thanks to many tricks happening in the background, most of these tricks do not make sense in any 3D creation suite such as blender, where the rendering occurs on a dedicated step of the process, with the power of the path tracing algorithm (such as Cycles render).
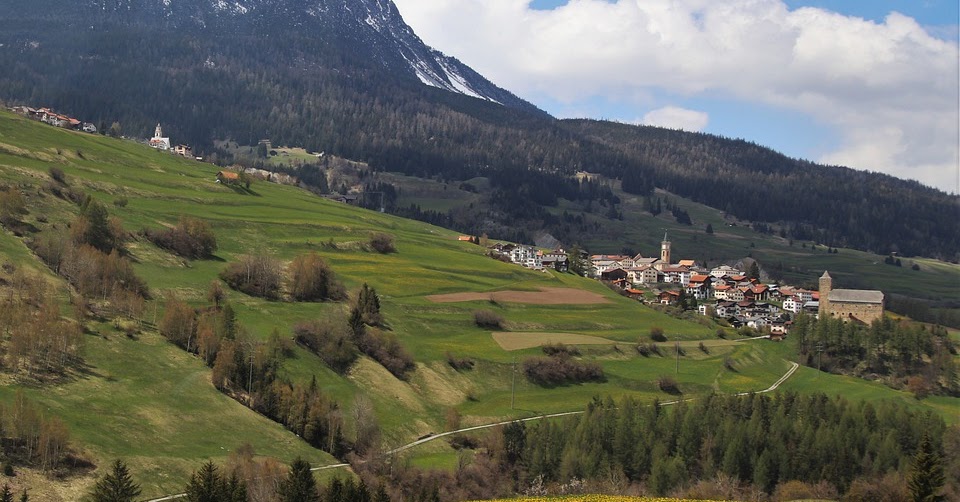
Expectation for Large Landscapes
Working on large-scale landscapes can be tricky in Blender, or any other 3D creation suite! There are a few habits experienced environmental artists acquired in their careers that perhaps beginner 3D artists don't have from the get-go.
For example, always hide scatter-layers you aren't working on. Avoid displaying the hi-res object in the 3Dviewport. Use camera optimization features smartly if you are working with large terrains, as you don't want to generate billions of tiny instances of grass on large areas where you might just get away with a grass material for example.
Pro Tip
If you need tips on how to manage performance, please make sure to read the page on optimization. Where we overview all display and visibility optimization features.
Batch Operation
In Blender, the property of an active object can be batch applied to the property of the selected objects by pressing the ALT key while tweaking the value. This native behavior has been smartly re-implemented through our plugin interface. You can batch-change the selected scatter-system properties by holding ALT when adjusting one of your sliders, toggle, or when assigning a mask or item!
Warnings
Be aware that the 3-button mouse emulation option of Blender will be in your way when batch-changing properties as this option will make the ALT key unavailable.
Vector Slide
In Blender, you can drag your mouse on the bottom to change multiple vector elements at the same time, this is a very well-known feature that few beginners might miss.
Collection Linking
Tips you should know about collections:
- In Blender, Objects can be linked in multiple collections simultaneously, this can be done by pressing CTRL while drag-and-dropping in the outliner.
- You can create new "collection-instance" objects your outliner collections, in blender 'Add' menu. The origin of the collection-instance object is the origin of the scene. Yes, these objects can be scattered.
Warnings
If you want to move objects in the outliner that are already linked in other collections, be careful! Because Blender will automatically unlink the object from the other collections if you do not hold CTRL. This is a native behavior you need to watch for when moving objects in your outliner editor.
Bounding Boxes
Beginners are often confused with the 'Bounding Box' feature of Blender.
With this option, you'll display your objects as a wired bounding box only
in the rasterized viewport & not in the render. This is a per-object
property located in Properties Editor > Object > viewport display > Display As.
This option is useful for heavy-poly objects, where we do not want to see the
full resolution object within the 3Dviewport as displaying too many polygons in a rasterized view will slow our GPU while working!
Reminder
If you scattered an item with a bounding box, you can easily select the scattered item in the instance subpanel, by clicking on the select icon. Additionally, in the plugin manager 'lister' interface, you will find a button to batch change all bounding-box properties of the objects you are scattering.
Flowmaps
Flowmaps are directional information (vectors) contained in an image
texture or in a vertex-color layer. The Red/Green channels represents directions in the tangent XY space. The vectors ranging
from -1 to 1 are remapped between 0 & 1 in order to fit into an RGB color information.
Flowmaps cannot be painted natively in Blender, the
flowmap painter addon
by Clemens Beute is needed. When you use this plugin with Geo-Scatter, make
sure to use the UV space color theme.
As the blue channel is
unused, there are options in scatter to use the blue channel as a
strength factor.
Using the Asset Browser
Our plugin heavily benefits and sometimes relies on blender asset-browser. In the 'Create' panel you can scatter the selected assets from your browser, and with the biome system, most biome packs will assume that you have the assets already installed in your asset browser. So you should know how to install a .blend containing assets in your asset browser library! If you don't check out the installation page.
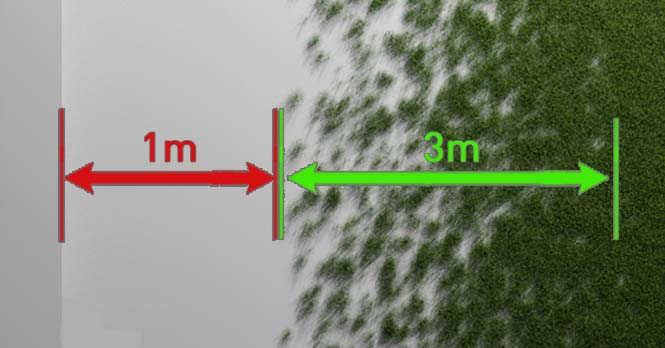
Min Distance & Transition Distance
When dealing with any distance thresholds, you will encounter, in our interface, what we call the 'Minimal Distance' — the gap between your collision spot and the start of the scatter (red) — and the 'Transition Distance' an optional added gradient effect (green). Set this option to 0 to disable any transition effect.